One Year of Stitches
The start of 2018 means a whole new list of resolutions. Some that we might stick with, but most that will probably get pushed out until next year, if we're being honest.
If one of the resolutions on your list is to start a new craft then you're in luck because same.
This year I wanted to try something I have seen on social media a bit; #1yearofstitches. From what I can gather, you are supposed to stitch everyday, but I just want to add something to represent all the best parts of my year. Obviously I am a bit behind starting this project, but what I like best is that it can be whatever you want it to be and you don't have to stress yourself out making sure to stitch every day.
Another perk is that embroidery is a superrrrr easy and kind of relaxing hobby that you can do while Netflix and chilling (a bottle of wine doesn't hurt either). I don't know many stitches so I will be learning as I go throughout the year.
You only need 4 materials to embroider;
2. Needle
3. Thread
4. Monks Cloth (cross stitch cloth)
(TBH the best part about embroidery is getting to organize all the colored thread)
And there are 4 basic stitches you need to know to start;
1. Back Stitch
2. Stem Stitch
3. Running Stitch
4. Split stitch
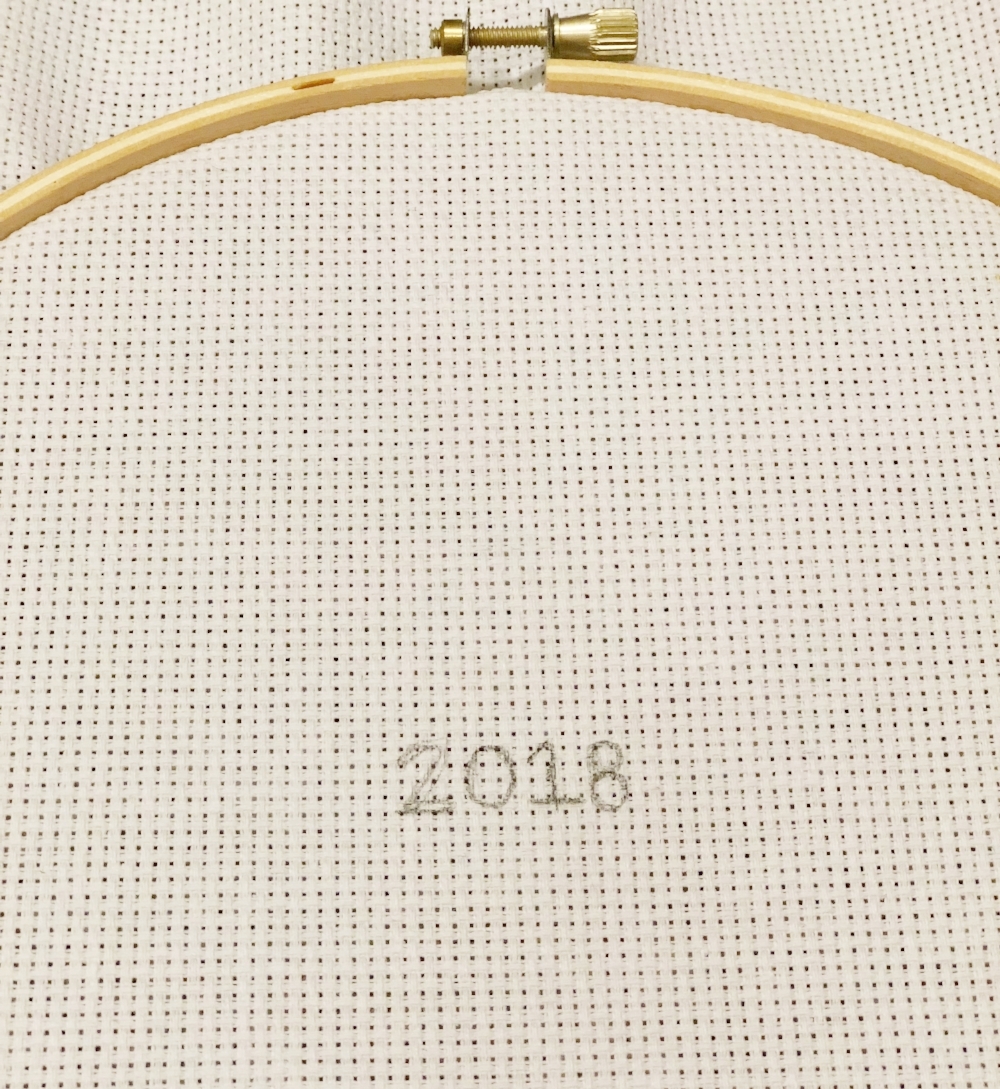
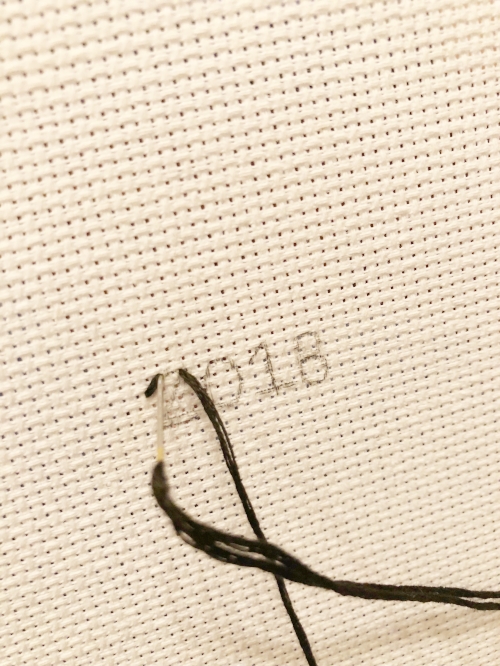
I started off by using a pencil to draw out 2018 in the middle of my cloth. I'm going to embroider from the center out, but you could start from the outside or wherever. A water soluble pen is also good for this, but you can erase your pencil marks if you need to so I've found it works just as well.
Back Stitch- great for any letters or outlines. As with all stitches, come up from the underside of the fabric and pull through. Make one stitch then bring the needle back up a full stitch length (keeping the length consistent with your first stitch), so you will have a space between your previous stitch and the needle.
Then bring the needle back and pass through the same hole as the first stitch to create a back stitch.
Stem Stitch- good for letters with curves, or you guessed it, the stems of plants. Make your first stitch in the fabric, a good rule of thumb for stitch lengths is as long as a grain of rice, but since my letters are so small I made tiny stitches (sorry they're kind of hard to see).
When you come back up for the second stitch, place your needle just to the side of the first stitch, this creates a cool twisted look to your letters.
Running stitch- literally the easiest/laziest. Weave the needle in and out through the fabric, catching some fabric with each stitch, this creates a dashed line.
Split stitch- adds some texture and is good for cursive letters. Just like the stem stitch, you will come up in the middle of the stitch, but instead of to the side you will put your needle directly in the center of the last stitch. Try to come up through the thread in the dead center so that the stitch doesn't look uneven.
This year is already off to a great start and I'm looking forward to seeing what will become of my hoop!


